


A little while ago I needed a sign with some lettering on it. Since I had procrastinated, I didn't find someone to do vinyl lettering. So I had to improvise. It worked pretty darn good if I do say so myself. So I thought I would share my ingenious idea with you (I am sure someone has done this before but let's pretend it was all my idea :)
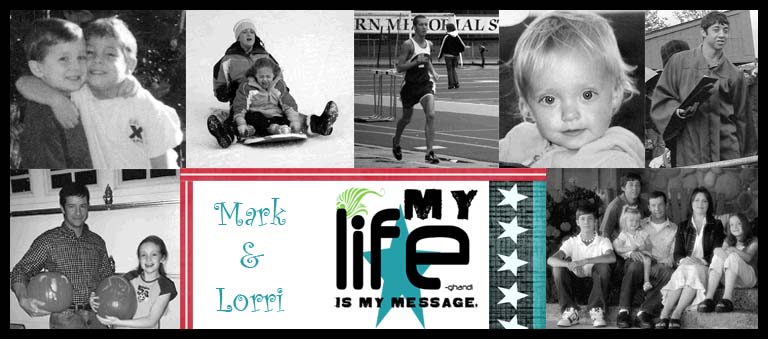
This is what I am revamping. I want to take the wording on this and make it a little more antique and not so country.

I have done this on a wooden plaque and this time decided to try it on painting canvas. I am sure this would work on a porous tile also.

Paint the board, or in my case, canvas whatever color you want. Remember to make it a color that your lettering will show up on. I am doing a dark brown lettering, so I am going with a yellow antique look. I haven't tried it yet, but I think you could print white lettering and do a dark background.

You will need a large piece of tissue paper. I am using white, but have used a parchment color that worked well. Get a piece of carstock paper and center it over the tissue paper.

Tape it down losely. I just fold it over the backside of my cardstock and hold it down with 4 pieces of tape.

Send it through your printer so that it prints whatever you want on your board onto the piece of tissue paper.

Untape the back carefully so you don't rip it to much. Spray the printing with a sealer. This is the one I use. They sell this sealer at scrapbooking stores.

Let it dry. Now take modge podge and brush it across the surface of your board/canvas. Lay the tissue paper on top of it, centering it as you go. You want to be careful not to get to many air bubbles between the tissue and the board. If you do, just life it up gently and use your sponge brush to squeeze them out as you lay the tissue back down. Modge podge over the top of the tissue. There will be a few wrinkles, but that adds to the antigue look. You just don't want a bunch of air pockets trapped under the tissue.
Modge podge the edges while working the tissue around them so they lay flat. I ended up trimming the extra tissue off the back where it over hung. Continue working with it and getting the bubbles out. Be careful on the edges so your tissue doesn't tear to much.
Let it all dry, then you can either paint the edges a contrasting color or leave them the way they are. If you want, you can go back over the project with stain or other colors to add a little more depth. There is a lot of options with this because you can basically do anything you can print off on your computer - pictures, printing, lettering. You can also frame it if you want.

Hope you have as much fun with this project as I did.
2 comments:
That actually is pretty creative. It looks really good. Okay, Matt and I are going to have to put together our family mission statement just so I can do this. Thanks for the idea.
Post a Comment